How to Choose a Squat Rack for Home Gym Use (Space, Budget, Safety)
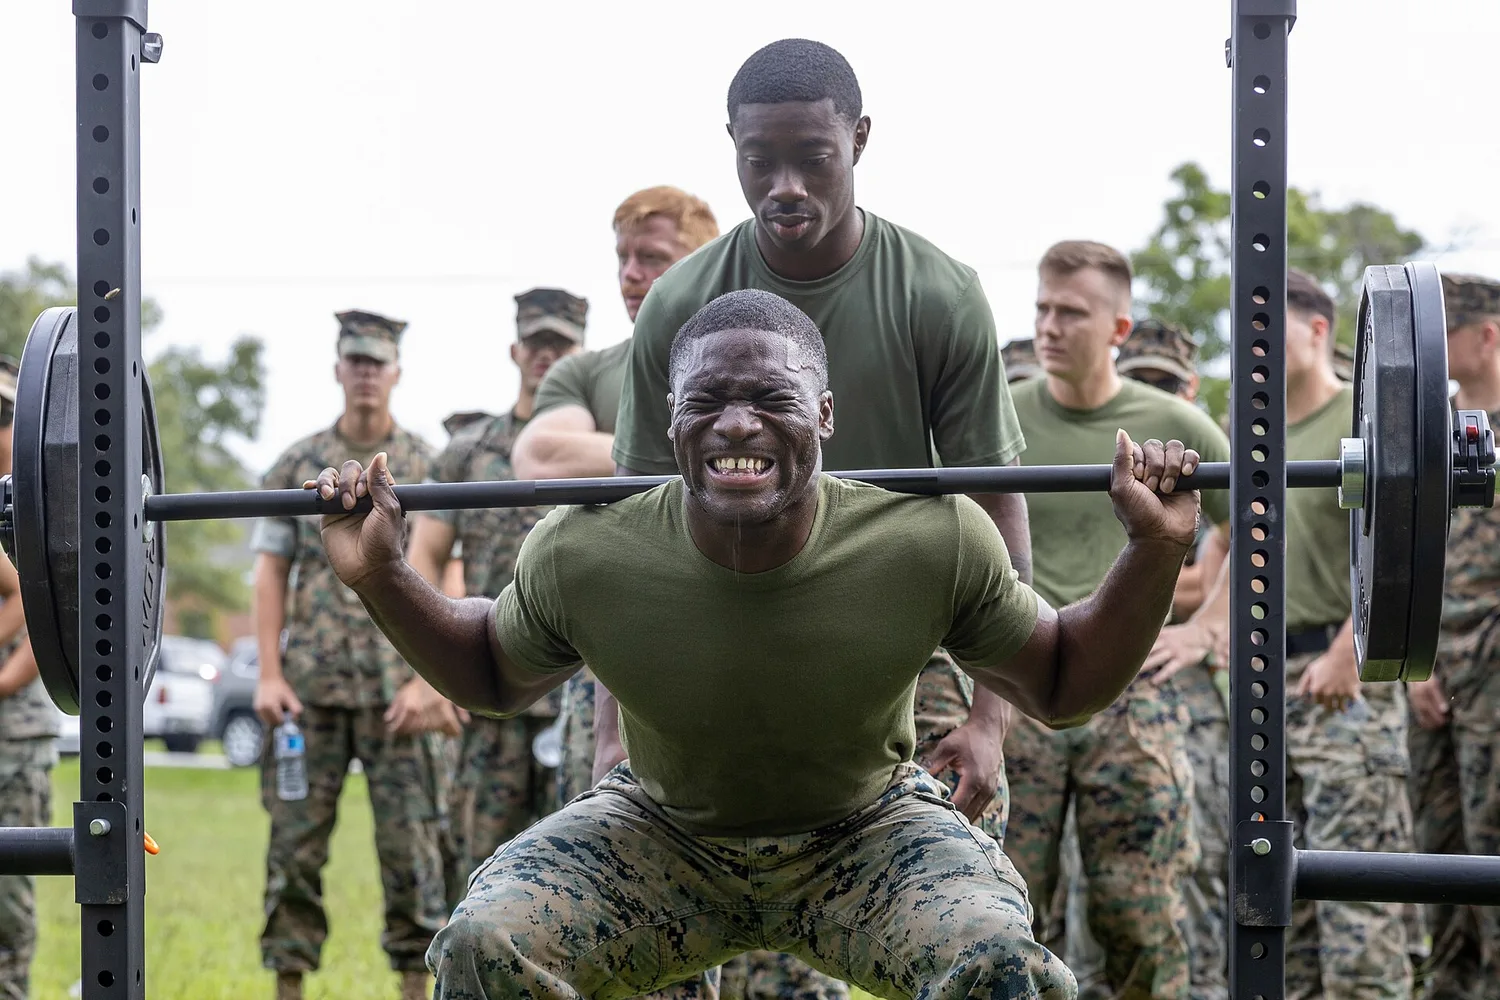
If a home gym has a heart, it's the squat rack. It holds the barbell at the right height, keeps you safe when you train alone, and turns a pile of plates into a complete strength setup.
It's also the biggest piece of equipment you'll buy — so it pays to get it right the first time. This guide explains how to choose a squat rack for home gym use, focusing on the three things that matter most: space, budget and safety.
Quick answer: If you have the room, a full power rack with safety bars is the safest and most versatile choice. Short on space? A wall-mounted folding rack is excellent. On a tight budget, a sturdy pair of squat stands will get you started.
The 4 Types of Squat Racks
1. Squat Stands
Two separate (or connected) uprights with hooks to hold the bar.
- Pros: the most affordable option, small footprint, easy to move.
- Cons: less stable, and safety options are limited.
Best for: tight budgets and lighter training. Choose a design with a connected base if you can.
2. Half Rack
Two uprights with a base and longer safety arms that stick out in front. Many include a pull-up bar.
- Pros: more stable than stands, takes less room than a full cage, easy to step in and out of.
- Cons: you're not fully "inside" the rack, so safety coverage is a little less complete.
3. Power Rack (Full Cage)
Four uprights forming a cage. You lift inside it, with safety bars on both sides. A power rack is the gold standard for lifting alone.
- Pros: the safest option, very stable, and works with lots of attachments (dip bars, landmines, cable pulleys).
- Cons: needs the most floor space and usually costs the most.
Best for: anyone serious about squats, bench press and overhead press.
4. Wall-Mounted Folding Rack
Bolts to the wall and folds flat when you're done — often to just a few inches deep.
- Pros: brilliant for garages where you still need to park a car.
- Cons: must be installed into solid wall studs or masonry, and isn't easy to move later.
Space: Measure Before You Shop
Space is where most rack purchases go wrong. Check these four measurements:
- Ceiling height. Many power racks are around 7–7.5 ft tall. You also need room above the top for pull-ups, and room to press overhead. A simple test: stand where the rack will go, hold a broomstick overhead with straight arms and check you have a few inches spare.
- Width. An Olympic barbell is about 7 ft long. Add space on each side to load plates — 8–10 ft of total width is comfortable.
- Depth. Racks range from shallow wall models to cages around 4 ft deep. Leave space behind for walking out squats and in front for a bench.
- Doors and stairs. Make sure the boxes (and you) can actually get the parts into the room.
Tip: Mark the rack's footprint on the floor with painter's tape before you buy. It's the easiest way to see how it really fits.
Budget: Where to Spend and Where to Save
Rack prices vary widely by brand, steel thickness and features. As a general rule, squat stands cost the least, half racks sit in the middle, and full power racks cost the most.
Worth paying for:
- Thick, heavy-gauge steel uprights (commonly 2 × 2 in, 2 × 3 in or 3 × 3 in).
- Good safety bars or straps.
- Close hole spacing in the bench-press area for precise setup.
- A rack you can expand with attachments later.
Easy to save on:
- Plates — iron works exactly the same whether it's new or decades old. See our cast-iron weight plates.
- Barbells — a quality used or vintage barbell can outlast a cheap new one.
- Extras you won't use yet. Buy the rack first; add attachments later.
Safety: The Features That Really Matter
A rack's main job is to keep you safe, especially when nobody is there to spot you.
- Safety bars, arms or straps. These catch the bar if you fail a rep. Set them just below the bottom of your squat or bench press — and always use them.
- Stability. A wide base, heavy steel and the option to bolt the rack to the floor all reduce wobble.
- Weight rating. Make sure the rack is rated well above the heaviest weight you'll ever lift.
- J-hooks with protective lining. Plastic or UHMW liners protect your bar's knurling and finish.
- Proper flooring. Rubber mats protect the floor and stop the rack from sliding.
Good technique matters too. Wikipedia's guide to the squat exercise covers the main variations, and the American College of Sports Medicine explains how much exercise you need in its physical activity guidelines.
Useful Extras and Attachments
- Pull-up bar — often built in.
- Plate storage pegs — keep plates off the floor and add stability.
- Dip attachment — a great upper-body exercise for very little space.
- Landmine — opens up rotational and pressing movements.
- Bench — pair the rack with a solid flat or incline bench, like this vintage Weider incline bench.
Which Squat Rack Is Right for You?
- Small garage, need to park a car: wall-mounted folding rack.
- Tight budget: squat stands with a connected base.
- Medium space, want flexibility: half rack.
- Training alone and lifting heavy: full power rack with safety bars.
Frequently Asked Questions
Do I need a squat rack for a home gym?
If you plan to squat or bench press with a barbell, yes. A rack is what makes heavy barbell training safe when you're on your own.
What ceiling height do I need for a power rack?
Measure the rack's height and add room for pull-ups and overhead pressing. Many lifters find 8 ft ceilings comfortable for a standard-height rack — check the exact height before you buy.
Should I bolt my squat rack to the floor?
If the manufacturer recommends it, yes. Bolting down (or adding heavy plate storage) makes the rack much more stable, especially for pull-ups.
Power rack or half rack?
A power rack is safer for heavy solo training. A half rack saves space and is easier to step in and out of. Both are good choices.
Build Around Your Rack
Once your rack is in place, the rest of your home gym falls into line. Use our home gym equipment checklist to plan the next pieces, and our guide to the best adjustable dumbbells for home gym training to round out your setup.
Want a barbell and plates with real history to go with it? Browse our collection or contact us — we're happy to help you plan your space.